So full credit for this idea goes to Play at Home Mom and especially their facebook page. HIGHLY recommend liking them as they always have fantastic ideas!
The DIY Light Table
I always seem to have a little bit of oldish, daggy, cheap furniture laying around the house (think fantastic furniture!) that I often look at and think one day I'll get rid of that. These days I look at stuff and think what could I do with that, how can I use it differently etc.... like the daggy coffee table my parents didn't want anymore.... I was like my outside fish bowl will look fine on that thanks!
anyways....
so I had this pretty ordinary TV stand / coffee table, actually purchased about 8 years ago from K-Mart and thought I could turn that into a light table. I'd been admiring all of the fun activities I've been seeing on facebook and though moo must have one! So I decided to convert it!

I found this piece of acrylic at Bunnings and cut it to size. It was my first time using my new jigsaw - which was given to me from a friends carpenter hubby. Was pretty easy to use. Makes me think I should own more power tools.

Drilled holes in the corners of the rectangle I wanted to cut out so I could put the jigsaw in.

easy peasy. 4 straight (looks straight enough) sides.
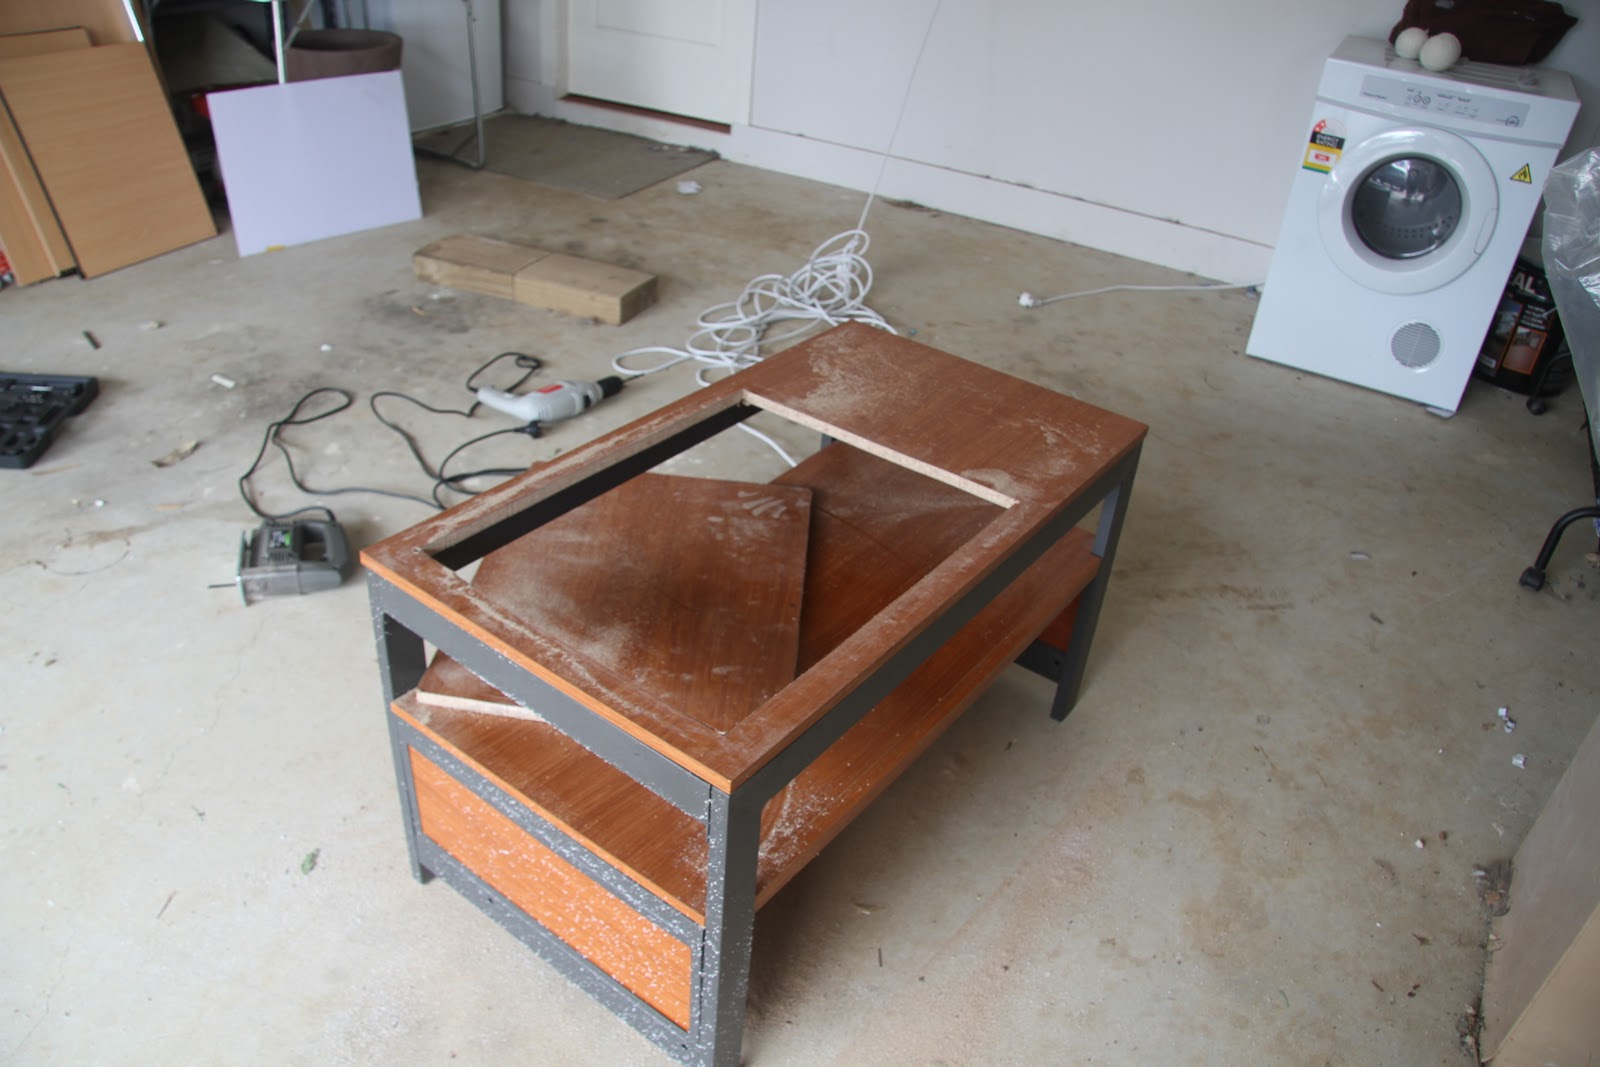
So now I had to make a little box section where I would put my light. The light I just got from bunnings as well. A fluorescent light in a plastic cover so it wouldn't get so hot. this is the part I struggled with the most and by the following photos you'll really see just how not handy I am with measuring and cutting!

For two side pieces I just used the wood left over from the hole I cut but for the other two pieces I used partts of chip board which were part of a desk my parents were throwing out in hard rubbish. I collected the best pieces and thought they would come in hand for some project and within a week of taking them home they had a new purpose.

See how skilled I am.

This is part of the .. just had to unscrew the metal runner things and had a usable piece of chipboard.

I then screwed on plastic top. I pre drilled holes in the acrylic as I didn't want the it to split when I was screwing it. URGH! fat lot of good that did. 4th hole I drilled snapped of the corner of the acrylic. Man I was shitty!
BUT. It still works!

Hate the look of it when its on ad you can see the light escaping from all my crappy cutting!

BUT! Everything looks much nicer under this light!

Had fun searching the reject shop, and assorted other $2 shops for anything that might look good on the table.


So far the shot glasses are probably the biggest hit.

and the Marble run!


and we can still use the ugly thing as a table if we want!

this is wonderful. i just checked out your play kitchen and pinned it to my pinterest too! i need to make these things! thanks for sharing!
ReplyDelete